Today we will show you how to make binder covers using PicMonkey. I use PicMonkey for many of the graphics, printables, and pins that we create for this blog. PicMonkey is very easy to use with no experience at all. If you are not familiar with PicMonkey it is a photo editing and design program that you can use to do many different things from touching up a photo to creating something from scratch on a blank canvas. You can use PicMonkey for free but if you want to download your creation you will have to subscribe. It is very affordable. At the time of this post is it 7.99 for one month of the basic package and you can cancel at any time with no additional fees. Also, if you purchase a year in advance then the price per month is about 5.99.
This post may contain affiliate links. Please read my affiliate disclaimer here.
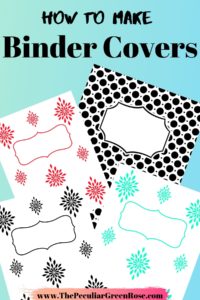
Save This How to Make Binder Covers Tutorial to your Pinterest Board!
We have two different tutorials showing you how to easily create your own binder covers below. Creating one from scratch and creating one with a digital download.
If you would like to sign up for PicMonkey you can click here.
Other Blog Posts You Might be Interested In
- How To Start A Blog
- 8 Genius Ways You Can Save Time and Money Every Week
- 7 Beginner Instant Pot Recipes for Weeknight Dinners
- How to get Free Netflix, Hulu, and Xbox Live Every Month!
- Meal Planning
- 47 Free Printable To Do Lists
- 41 Free Printable Binder Covers
- 13 Free Printable Cactus Binder Covers
How to Make Binder Covers Using PicMonkey – Create from a Blank Canvas
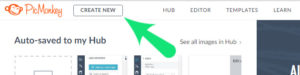
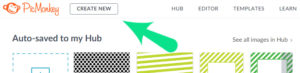
#1. First, from the homepage of PicMonkey once you are signed in click on “Create New”.
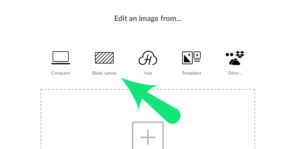
#2. Next click on “Blank Canvas”.
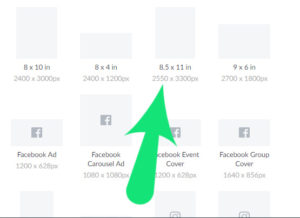
#3. Then choose the size for the blank canvas of 8 ½” x 11”. Then click “Create”.
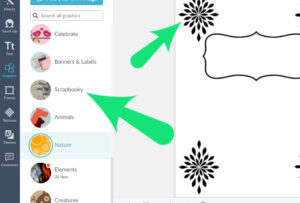
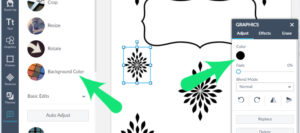
#4. Next click on “Graphics” on the left-hand side. Scroll down to “Banners & Labels”. For this binder cover, I chose a label that is premade with black as the inner color and white surrounding. Once positioned on my page where I want it I switched the inner color to white and the outer border to show black by using the Graphics controls on the right-hand side.
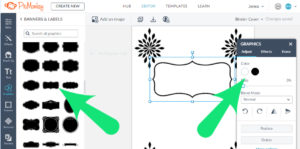
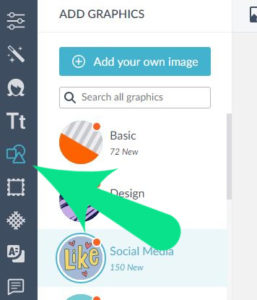
#5. Next click on “Graphics” again to bring up the full listing for you to choose a design that you want to use for your binder cover. There are many different things to choose from.
For this binder cover design click on “Scrapbooky” and then choose a “Garniture”.
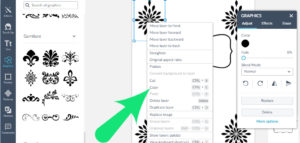
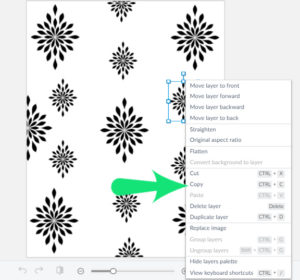
#6. Then once you have your graphic picked out, that you want to use for your design, size it to the correct size you want on your canvas. For this one, we wanted multiples of the same design in various places. To easily do this without having to resize each graphic you can easily right click on the graphic after you have it sized and click copy. You can then paste the same exact sized graphic as many times as you want on your canvas in different places.
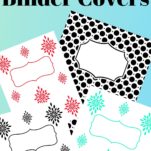
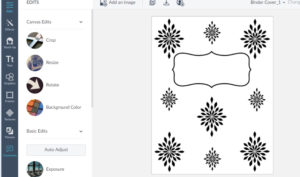
#7. Now you can see the finished product below after using the copy and paste method with the graphic designs.
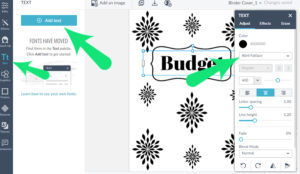
#8. In addition, you can also type in the subject of your binder in PicMonkey. Click on the “Tt” on the left-hand panel. Then click on “Add Text”. The Text control panel will appear on the right side. You can choose your font, size, and color from there.
#9. Now you can do a couple of different things with this image. You can purchase colored paper to print these on or you can change the background color to whatever color you prefer in PicMonkey if printer ink expense is not an issue for you. Also, you can change the color of the graphics by using the graphics controls on the right-hand side.
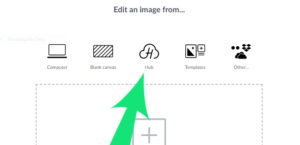
#10. To make your matching cover for the backside of your binder you will click “Create New” just as before. But this time instead of choosing blank canvas you will select from “Hub”.
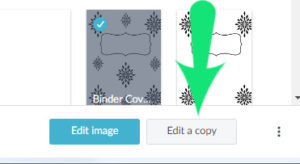
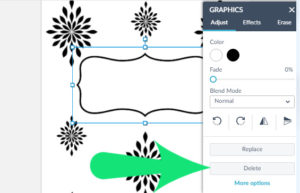
#11. Next, select the same binder cover that you just created and then on the bottom of the screen select “Edit a copy”. Click on the label and then click delete on the graphics control panel.
#12. Then copy the smaller graphic designs as before and paste them in the open areas to complete the binder cover for the backside of your binder.
How to Make Binder Covers Using PicMonkey – Create Using a Downloaded Image
#1. Go to the PicMonkey.com. Once you are signed in click on “Create New”.
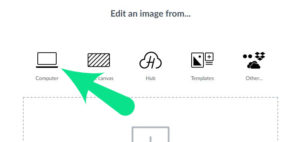
#2. Next, click on, from “Computer” and select the image that you would like to use. You will need to download an image from somewhere that you would like to use. You can get very inexpensive digital prints from Etsy.com. If you are using these to create something to sell or give away on your blog you will need to read the terms of use before purchasing from Etsy to make sure it says commercial use is ok.
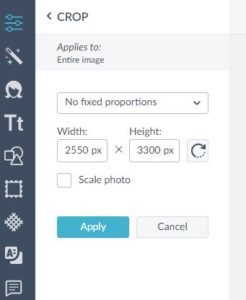
#3. Then, select “Crop” and enter (Width – 2550) x (Height – 3300). This will give you the dimensions of a standard size of paper which is 8 ½“ x 11”. Then Click “Apply”.
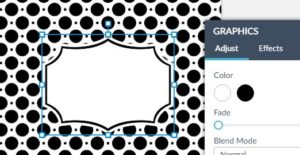
#4. Next, click on “Graphics” on the left-hand side. Scroll through the options and pick one that has a border. The graphics icon is the square, circle, and triangle symbol.
#5. Position the graphic on your image and adjust it to the size that you want.
#6. Next, change the inner color to white. Change the border color to match your image using the graphics editor controls on the right-hand side.
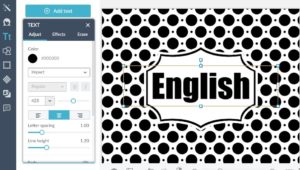
#8. You can either print your binder cover out just like this and write in your subject with a marker. Or, you can fill in the subject with text using PicMonkey.
To fill in with text click the “Tt” on the left-hand side. The text editor box will come up. Select the font, size, and location.
Final Thoughts
Creating in PicMonkey is very easy to do even if you don’t have any experience with graphic design or photoshop. You can do all kinds of things and it is very affordable. I have been learning as I go….so far so good!